Configure a Proxy HA on Cloudstack
en:Configure a Proxy HA on Cloudstack
he:הגדר פרוקסי HA-Cloudstack
ro:Configuraţi un Proxy HA pe Cloudstack
ru:Настроить прокси на Cloudstack
pl:Konfigurowanie serwera Proxy HA w Cloudstack
ja:Cloudstack で HA プロキシを構成します。
ar:تكوين وكيل هكتار في كلودستاك
zh:配置一个代理医管局对 Cloudstack
de:Konfigurieren Sie einen Proxy HA auf Cloudstack
nl:Configureer een Proxy HA op Cloudstack
it:Configurare un Proxy HA Cloudstack
pt:Configurar um Proxy HA em Cloudstack
es:Configurar a un Proxy HA de Cloudstack
fr:Configurer un HA Proxy sur Cloudstack
This article has been created by an automatic translation software. You can view the article source here.
Introduction
Yor want to configure a HA Proxy on the Cloudstack platform. This article will explain the approach thror gh a sample configuration.
Implementation
Here is the procedure to follow in order to implement a HAProxy on a Debian instance 8 "Jessie " under Cloudstack.
Note:This approach applies also in the framework of a dedicated provision .
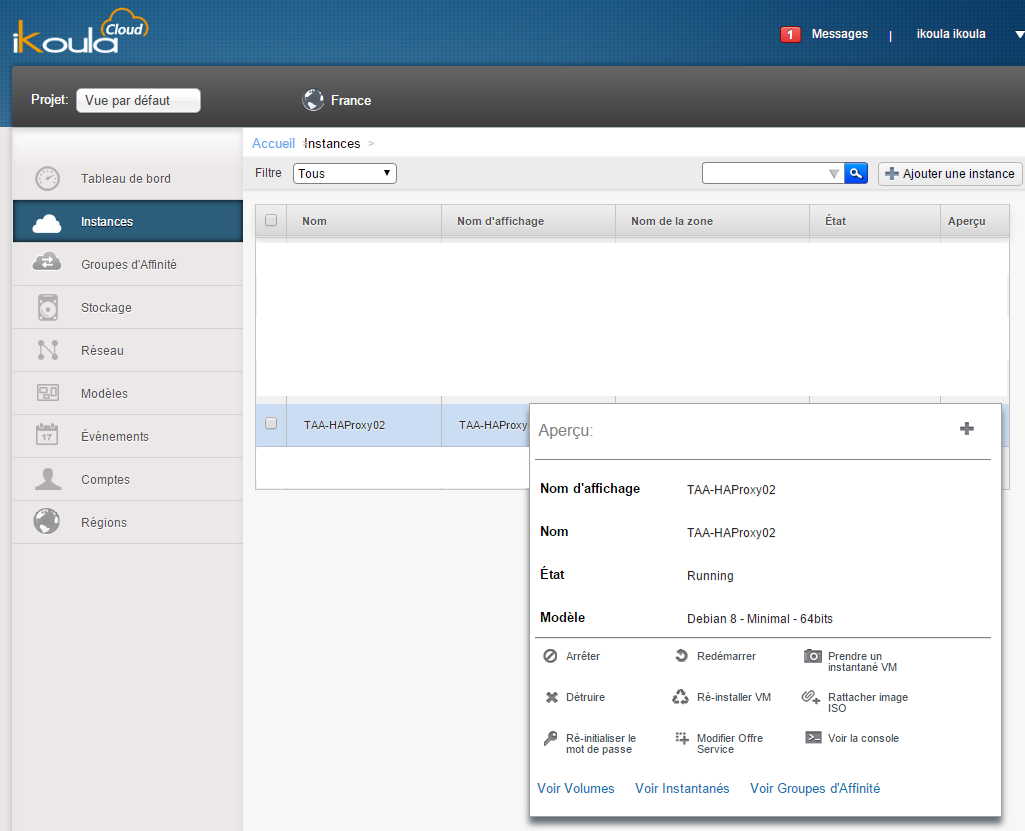
Create the new instance HAProxy
You will find the procedures for creating an instance Cloudstack en direct-routing on fr:Deploiement d'une instance en zone direct-routing and in advance-routing on fr:Deploiement d'une instance en zone advanced-routing
Configure the new instance HAProxy
- Our VM is now started
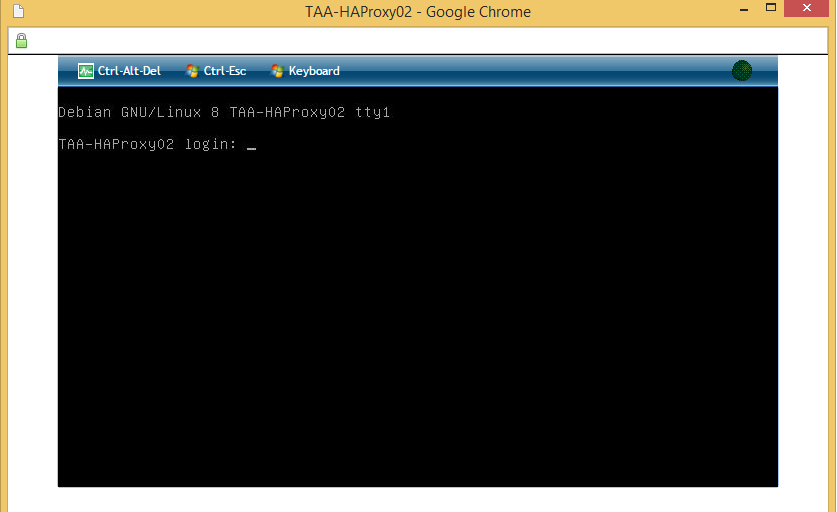
- We can connect from the integrated console or ssh
Prerequisites
One of the prerequisite essential is to preserve its system as up-to-date as possible.
 apt-get update
 apt-get upgrade
Keeping your Debian system up-to-date, make sure you have a list of the official repositories. You can find a list of the available at Ikoula repositories and installation instructions a this address.
On a Server production, think perform these operations during off-peak hours to minimize the impact of your actions.
For the installation of our instance of Loadbalancing under Cloudstack we need service HA Proxy.
HA Proxy Setup
- To install HA Proxy version 1.5, run the following command in your terminal
apt-get install haproxy
- If you want the latest version of HA Proxy version 1.6, run the following commands
# Ajout du repo
echo deb http://httpredir.debian.org/debian jessie-backports main | tee /etc/apt/sources.list.d/backports.list
apt-get install debian-keyring
# Recuperation de la cle gpg
gpg --keyring /usr/share/keyrings/debian-keyring.gpg --export bernat@debian.org |  apt-key add -
# Mise a jour des depots
apt-get update
# Installation de haproxy
apt-get install haproxy -t jessie-backports-1.6
HA Proxy Activation
- HA Proxy is now installed, we now enable it by changing the ENABLED value =0 by ENABLED =1 in both files /etc/default/haproxy et /etc/init.d/haproxy
# activation de HA Proxy dans /etc/default/haproxy
sed -i "s/ENABLED=0/ENABLED=1/g" /etc/default/haproxy
# activation de HA Proxy dans /etc/init.d/haproxy
sed -i "s/ENABLED=0/ENABLED=1/g" /etc/init.d/haproxy
HA Proxy Configuration
HA Proxy configuration is performed in the file /etc/haproxy/haproxy.cfg .
- Here is an example of configuration d 'HAProxy
global
        log /dev/log    local0
        log /dev/log    local1 notice
        chroot /var/lib/haproxy
        user haproxy
        group haproxy
        daemon

defaults
        log     global
        mode    http
        option  httplog
        option  dontlognull
        contimeout 5000
        clitimeout 50000
        srvtimeout 50000
        errorfile 400 /etc/haproxy/errors/400.http
        errorfile 403 /etc/haproxy/errors/403.http
        errorfile 408 /etc/haproxy/errors/408.http
        errorfile 500 /etc/haproxy/errors/500.http
        errorfile 502 /etc/haproxy/errors/502.http
        errorfile 503 /etc/haproxy/errors/503.http
        errorfile 504 /etc/haproxy/errors/504.http

listen cluster_web xxx.xxx.xxx.xxx:80

        mode http

        balance roundrobin


        option httpclose
        option forwardfor


        server web1 yyy.yyy.yyy.yyy:80 check
        server web2 zzz.zzz.zzz.zzz:80 check


        stats enable
        stats hide-version
        stats refresh 30s
        stats show-node
        stats auth ikoula:ikoula
        stats uri  /stats
The ip address xxx.xxx.xxx.xxx is the ip address of our Server load balancing, yyy.yyy.yyy.yyy and zzz.zzz.zzz.zzz addresses are our Serverweb s behind the LoadBalancer .
| listen cluster_web | The address and port on which the service HA Proxy will need to listen for connections. |
| mode | The swing mode, in our example http for web |
| balance | The algorithm used for load distribution, in our example RoundRobin The available values are : RoundRobin, Source, The ast connection, First Response |
| server | Declaration of the various servers behind our LoadBalancer , in our example web1 et web2. |
| stats | To configure access to the stats page of LoadBalancer In our example the page will be accessible on xxx.xxx.xxx.xxx /stats with ikoula/ikoula such as login and password |
HA Proxy start
- We can now start HA Proxy
service haproxy start
ou
etc/init.d/haproxy start
- Making us on our xxx.xxx.xxx.xxx ip /stats and in using our login and password we arrive on the HA Proxy administration page.
- We can now connect to our Servers in SSH typing
# Serveur web1
ssh root@yyy.yyy.yyy.yyy
# Serveur web2
ssh root@zzz.zzz.zzz.zzz
Configure the Serverweb s
- If the Servers do not yet have web service it does install a, for example
apt-get install apache2 php5
- Once the web services installed, or if the Server already had one web 1 and web 2 appear in green in the stats page
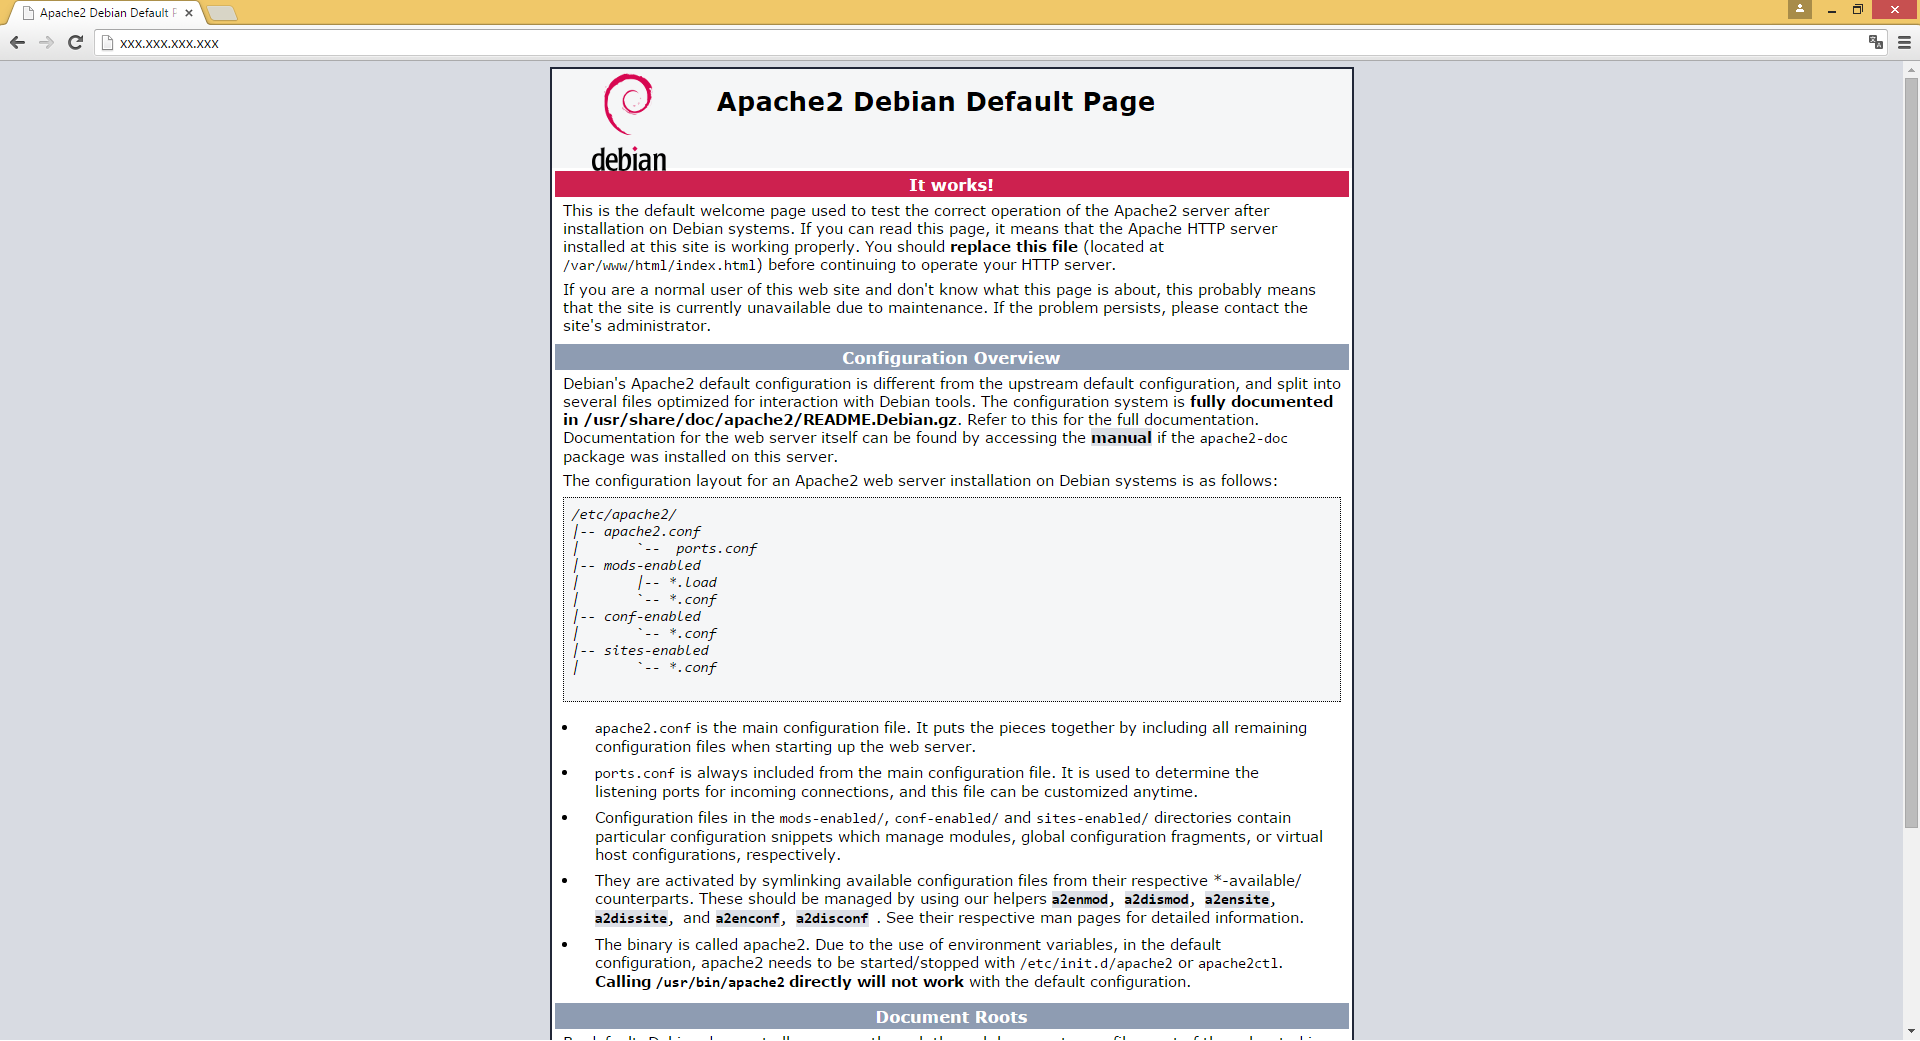
- If you try to access to the Server using the address xxx.xxx.xxx you fall on the test page the Server web1 or web 2 According to the allocation done
Configure persistence
The persistence by Source IP
In order to configure persistence by Source IP simply change the swing mode in the HA Proxy configuration file by adding options Sticky .
- Enable persistence by Source IP through a stick-table, here is the example with our configuration
listen cluster_web xxx.xxx.xxx.xxx:80

        mode http

       # Modifier le mode de balancement
       balance source
       hash-type consistent

       # Ajouter une stick-table afin de garder en mémoire les IP
       stick-table type ip size 1m expire 1h
       stick on src

        option httpclose
        option forwardfor

        server web1 yyy.yyy.yyy.yyy:80 check
        server web2 zzz.zzz.zzz.zzz:80 check

        stats enable
        stats hide-version
        stats refresh 30s
        stats show-node
        stats auth utilisateur:motdepasse
        stats uri  /stats
The above example allows to implement a persistence of load-balancing based on the user's IP. This persistence is ensured through a stick-table who remembers the IPS who have contacted the Server.
This stick-table has a size of 1MB and expires every hour. When a user is attached to a Server It remains on this same Server until expiry of the table or in the event of error of Server.
By Cookie persistence
Another method to ensure the persistence of the swing is to use a cookie. A cookie is a small file placed on the user's computer in order to store information of Server.
Method of cookie-insert
The first example is the creation of a specifically designed additional cookie to HA Proxy.
- Edit the HA Proxy configuration file and add the following lines to our configuration
listen cluster_web xxx.xxx.xxx.xxx:80

        mode http

        # Modifier le mode de balancement
        balance roundrobin

        # option du cookie
        cookie SRVNAME insert indirect nocache

        option httpclose
        option forwardfor

        server web1 yyy.yyy.yyy.yyy:80 cookie WeB1 check
        server web2 zzz.zzz.zzz.zzz:80 cookie WeB2 check

        stats enable
        stats hide-version
        stats refresh 30s
        stats show-node
        stats auth utilisateur:motdepasse
        stats uri  /stats
The example above allows to implement our sessions through a dedicated cookie persistence. When connecting the load - balancer will redirect the client to one of the two Servers and add a cookie called SRVNAME with the value WeB1 ou WeB2 following the distribution made.
The option indirect prevents the generation of a cookie if another valid cookie is already present for the visitor and NoCache prevents caching of the cookie between the visitor and the load - balancer .

Method cookie-prefix
The second example is the pre-fixage of a pre-existing cookie, this method can be useful if you want persistence only on some cookies or that you do not want to create a dedicated cookie to HA Proxy.
- Edit the HA Proxy configuration file and add the following lines to our configuration
listen cluster_web xxx.xxx.xxx.xxx:80

        mode http

        # Modifier le mode de balancement
        balance roundrobin

        # option du cookie
        cookie PHPSESSID prefix indirect nocache

        option httpclose
        option forwardfor

        server web1 yyy.yyy.yyy.yyy:80 cookie WeB1 check
        server web2 zzz.zzz.zzz.zzz:80 cookie WeB2 check

        stats enable
        stats hide-version
        stats refresh 30s
        stats show-node
        stats auth utilisateur:motdepasse
        stats uri  /stats
The example above allows to set up the persistence of our sessions through a prefix to an existing cookie. When connecting the load - balancer will redirect the client to one of the two Servers and add a prefix to the named cookie PHPSESSID with the value WeB1 ou WeB2 following the distribution made.
The option indirect prevents the generation of a cookie if another valid cookie is already present for the visitor and nocache prevents caching of the cookie between the visitor and the load - balancer .

Configure the Keep-Alive
Depending on your configuration you may need to activate the keep-alive.
Le keep-alive allows to the load - balancer to reuse the existing connection between the Server and the user, rather than initiate a new connection for each requests.
- Edit the HA Proxy configuration file and add the following lines to our configuration
listen cluster_web xxx.xxx.xxx.xxx:80

        mode http

        balance roundrobin

        # Modifier la directive de fermeture
        option http-server-close
        # Ajouter un delai de 3000 secondes avant fermeture
        timeout http-keep-alive 3000

        option forwardfor

        server web1 yyy.yyy.yyy.yyy:80 check
        server web2 zzz.zzz.zzz.zzz:80 check

        stats enable
        stats hide-version
        stats refresh 30s
        stats show-node
        stats auth utilisateur:motdepasse
        stats uri  /stats
Implement SSL management
It may be useful to set up the SSL redirect your site management, for example in the case of a site that has space secure.
In order to implement the HTTP redirect -> HTTPS on his HA Proxy documentation is available: fr: Mettre en place une redirection SSL HA Proxy


Enable comment auto-refresher