How to install a Wordpress from Plesk applications
en:How to install a Wordpress from Plesk applications
he:כיצד להתקין Wordpress מיישומים פלסק מערכת הפעלה
ro:Cum se instalează un Wordpress la Plesk aplicaţii
ru:Как установить Wordpress с Plesk приложений
pl:Jak zainstalować Wordpress z Plesk aplikacji
ja:Plesk アプリケーションからワードプレスをインストールする方法
ar:كيفية تثبيت وورد من التطبيقات Plesk
zh:如何从 Plesk 应用程序安装 Wordpress
de:Wie installiere ich ein Wordpress von Plesk-Anwendungen
nl:Hoe installeer ik een Wordpress vanuit Plesk toepassingen
it:Come installare un Wordpress da applicazioni di Plesk
pt:Como instalar um Wordpress de aplicativos Plesk
es:Como instalar un Wordpress de aplicaciones de Plesk
fr:Comment installer un Wordpress depuis les applications Plesk
This article has been created by an automatic translation software. You can view the article source here.
Introduction
We will see in this FAQ how to use Plesk Application Manager to quickly install Wordpress on your Ikoula shared hosting. This FAQ will also present the custom Wordpress installation
Quick install
1. Go to your Control Panel (https://orderng02.ikoula.com/cp), then in the management of your domain.
2. On this Panel, use the button "applications".
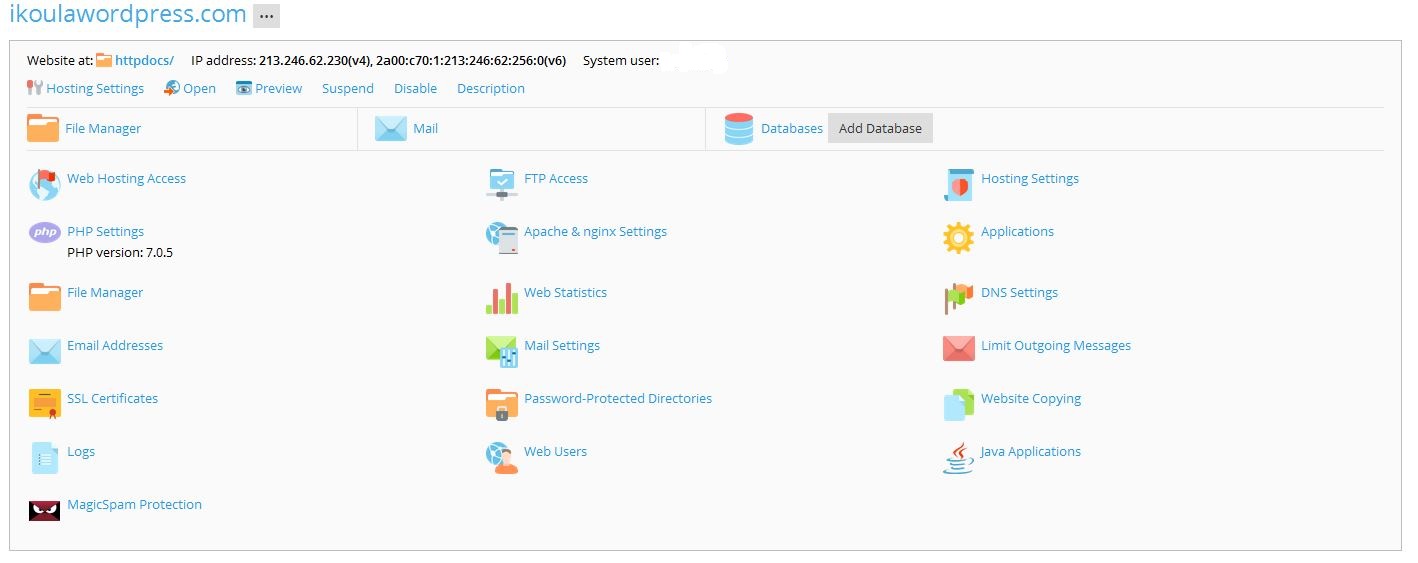
3. Click on the button "Install" to launch the quick installation of Wordpress on your hosting.

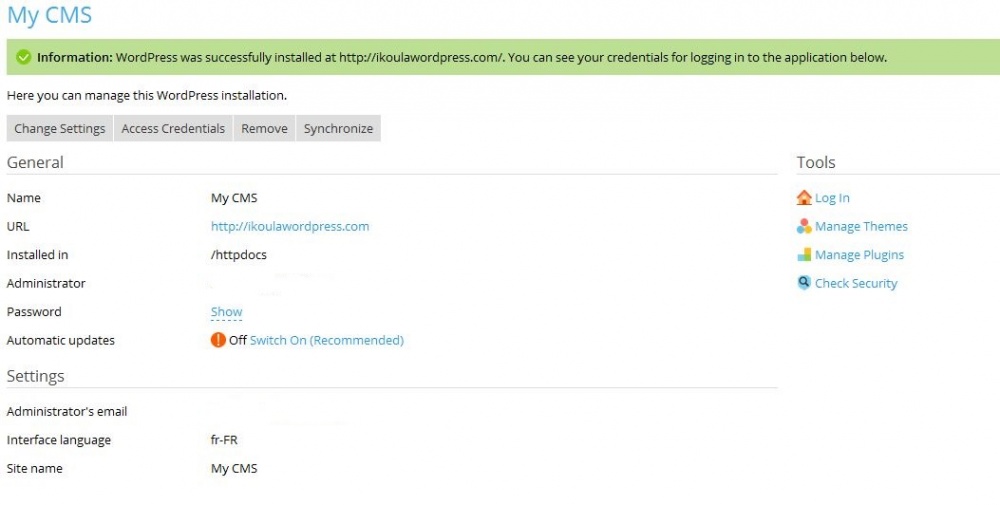
WordPress is getting installed.

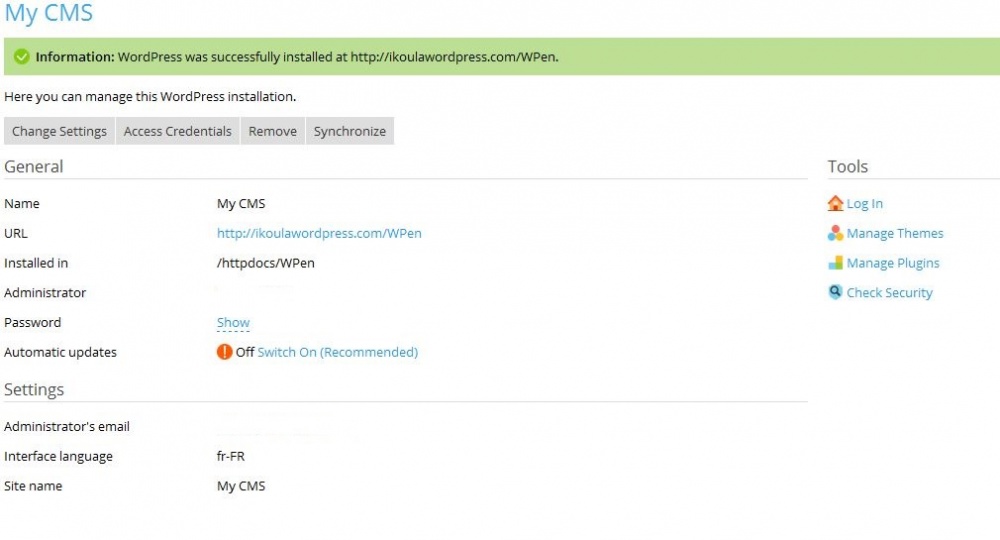
4. WordPress is installed and ready.
Custom installation
1. Click on the button "Install (custom)" to launch the custom installation of Wordpress on your hosting.

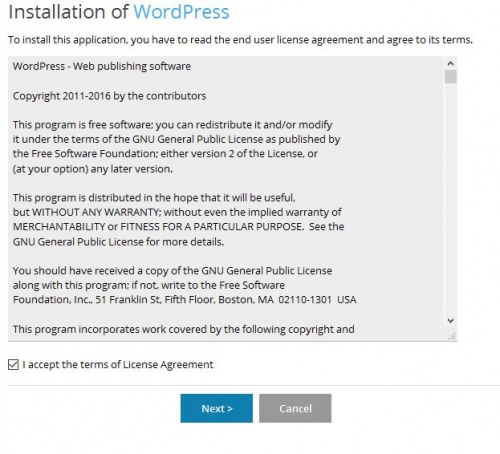
2. Accept the license agreement.
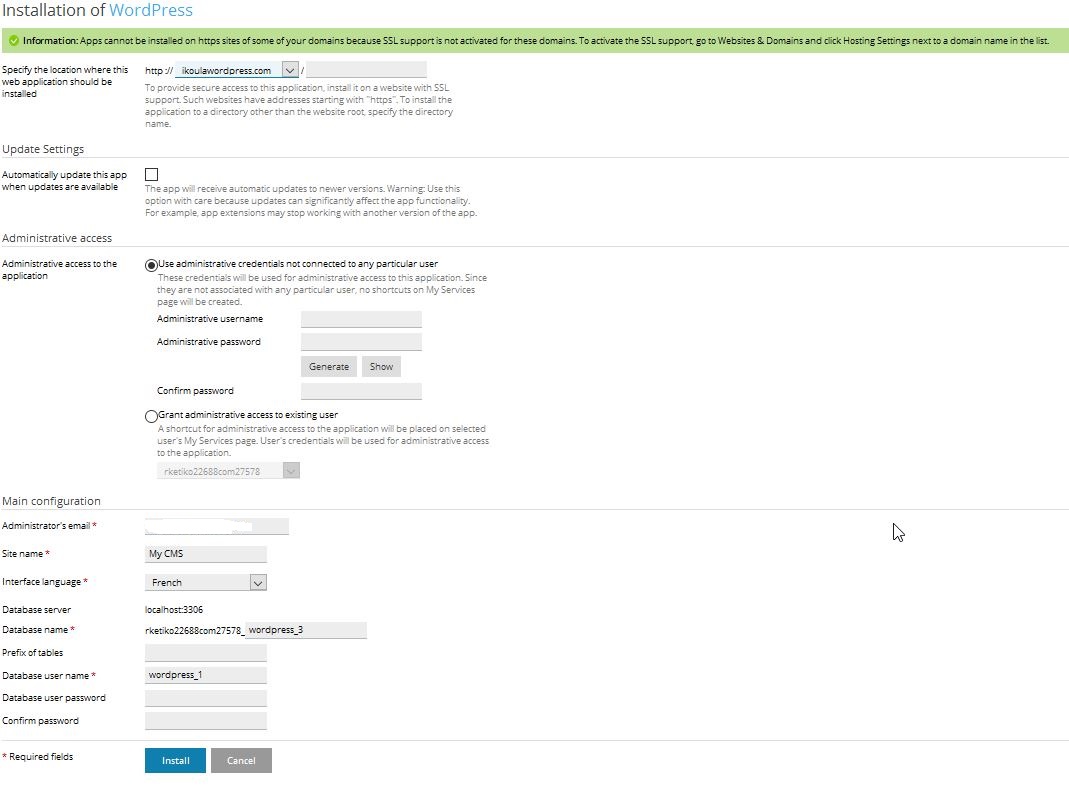
3. Enter the details specific to your Wordpress installation : folder of installation, automatic updates, user name and password, the site name, name and password of the database.
4. your Wordpress is installed and ready.
Conclusion
Using the Plesk application manager you can easily deploy, manage, and customize your Wordpress installations.
This article seemed you to be useful ?
Enable comment auto-refresher