Backup your PC in IKeepInCloud using VEEAM
Introduction
This wiki article will show you how to use Veeam Agent for Microsoft Windows FREE to backup your desktop to your IkeepInCloud Storage. This procedure gives you the possibility to backup a whole desktop PC (here on Windows 10 Pro), and to restore the whole system in case of an incident (known as Bare Metal Recovery or BMR), or to restore a single, peculiar file.
Process
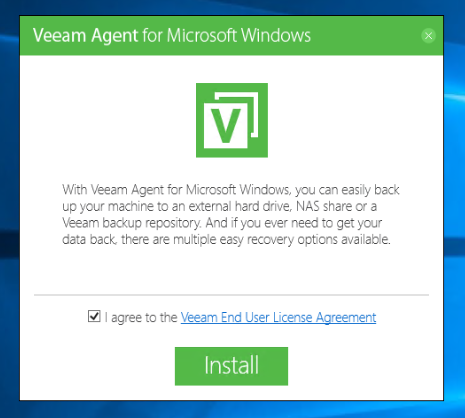
First, you have to download the software on this webpage : https://www.veeam.com/fr/windows-endpoint-server-backup-free.html
This is a free software provided by VEEAM, you only have to create an account on the website to download it.
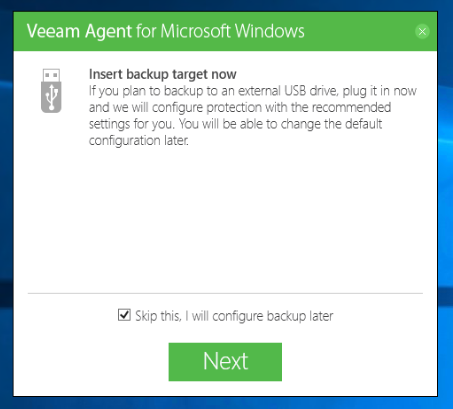
We skip the local storage part
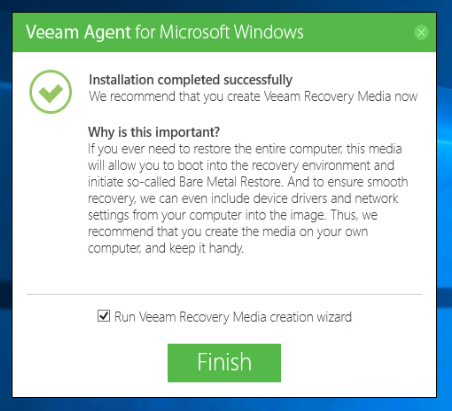
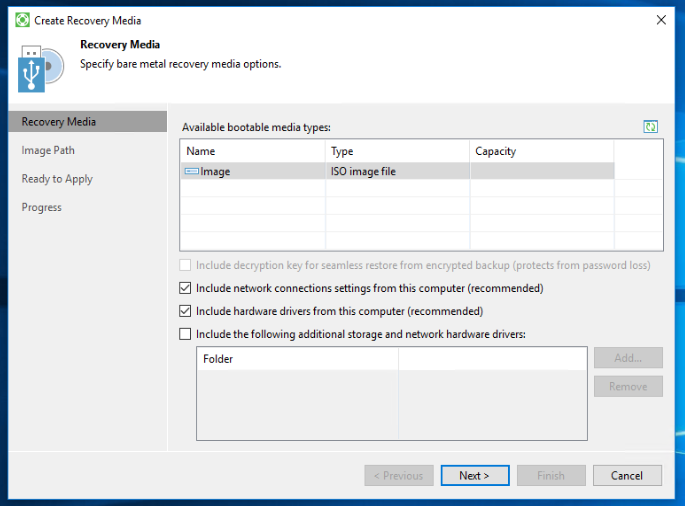
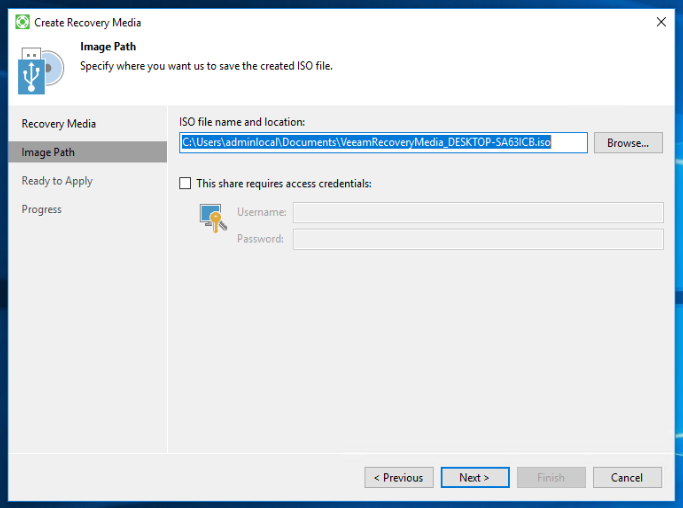
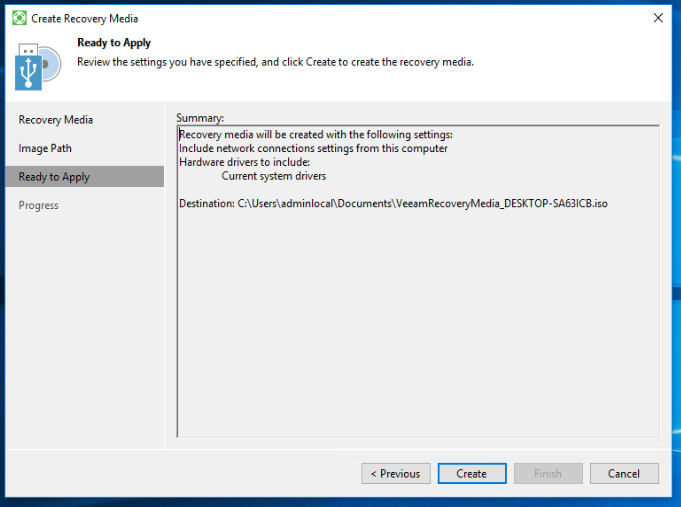
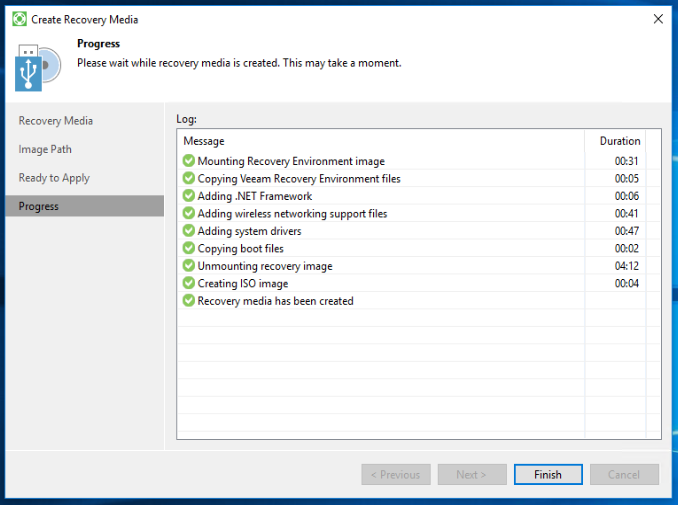
The backup agent is installed, we create the restore media rightaway (this is mandatory for the BMR procedure)
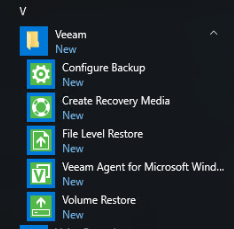
We create the backup task with configure backup
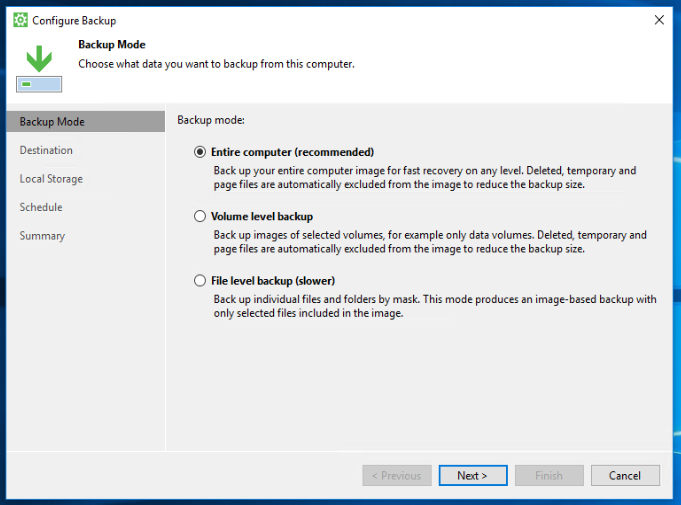
We choose a complete backup of our PC:
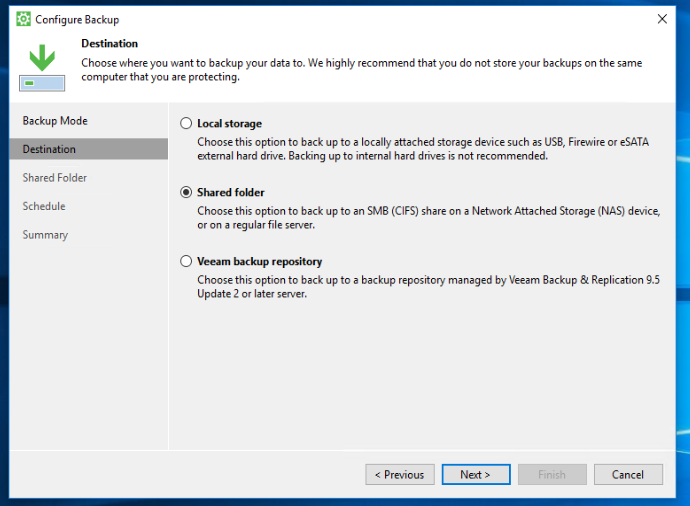
We choose Shared Folder to specify the IKIC storage as the backup's target
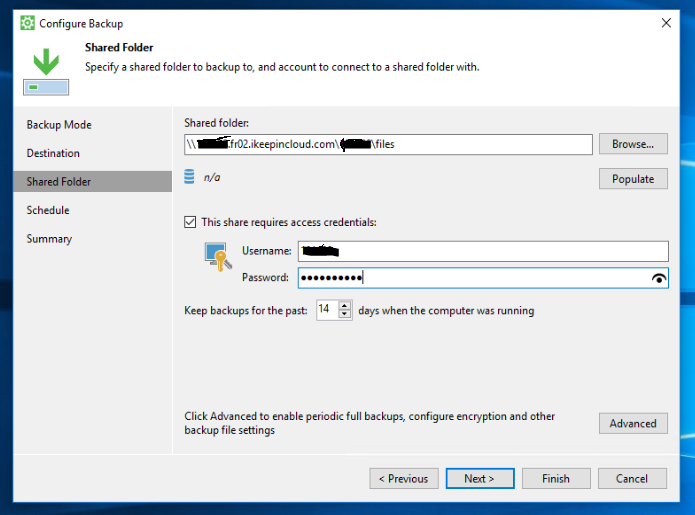
Then we input the IKIC credentials
the url being \\[IKIC ID].fr[NODE].ikeepincloud.com\[IKIC ID]\[target folder] : \\XXXXX.frXX.ikeepincloud.com\XXXXX\files with the username (being the IKIC ID) and the password.
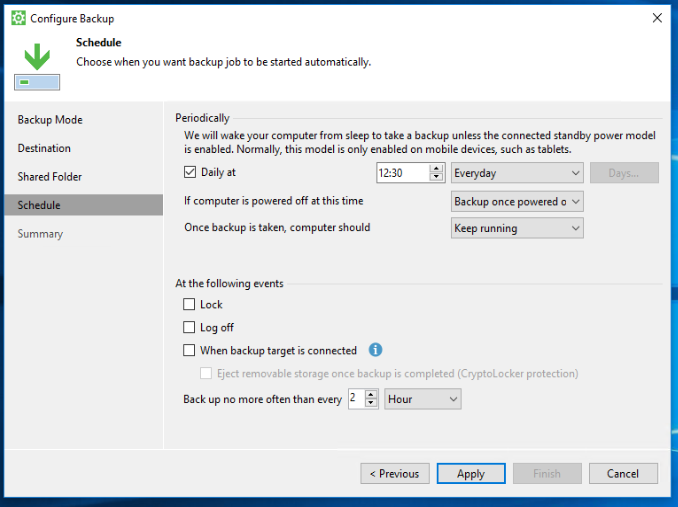
We specify the backup schedule, and the other actions that can be performed after the backup task :
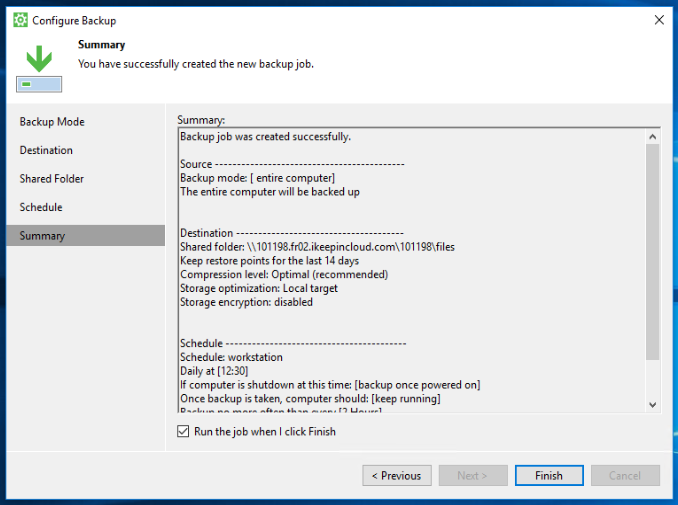
We check the summary, and ask the agent to launch the backup task after we have validated it :
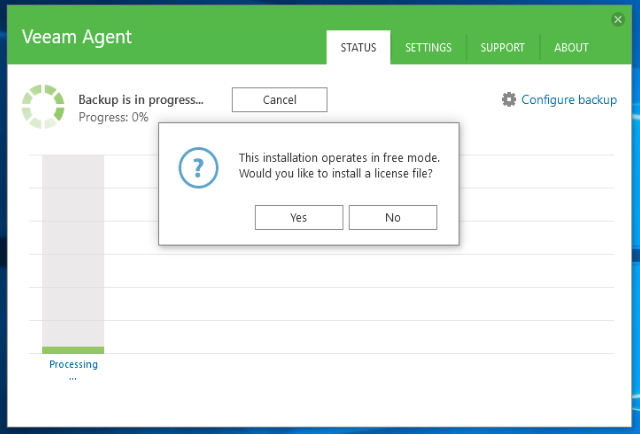
When the backup agent shows this message, you must click NO, so it stays in FREE mode
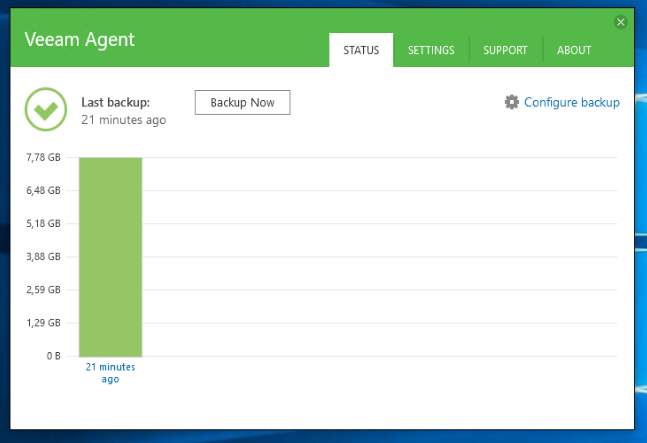
The backup is successful
File Restore
This part will show you how to restore a file with the agent.
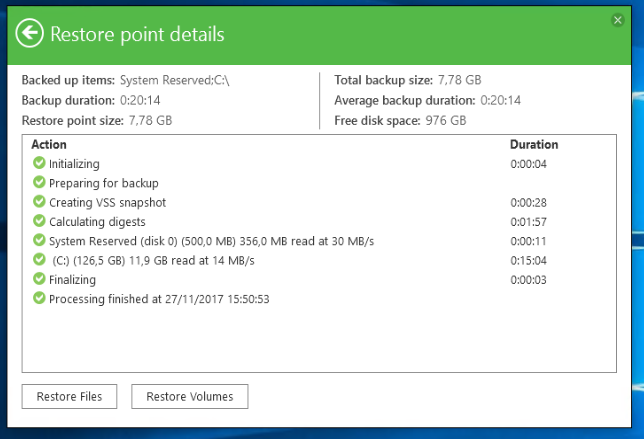
Clicking on a restore point will show its details :
We click on Restore Files.
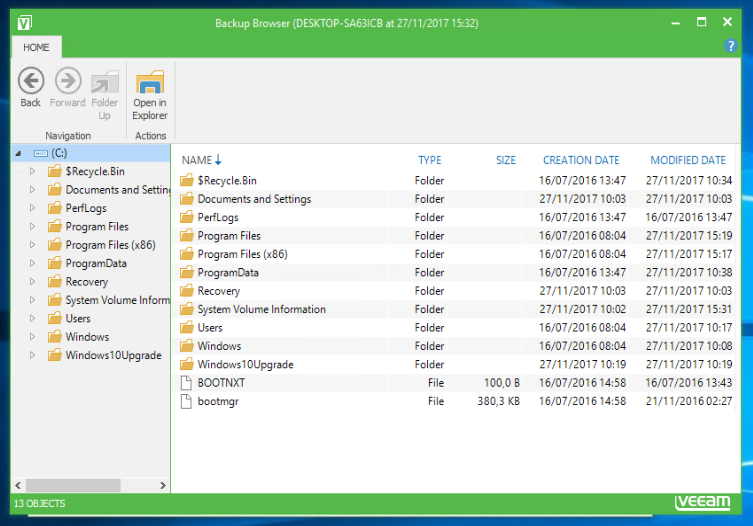
All the files in the restore point are shown :
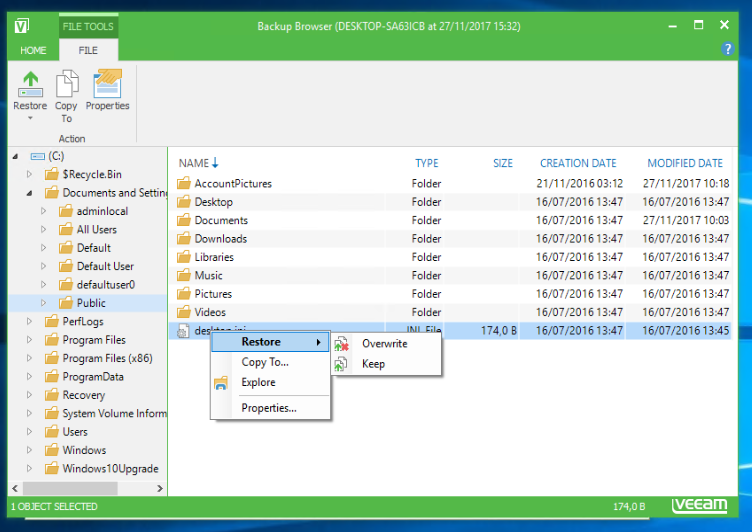
There we select the file we need and use RESTORE to put it on the system. We can choose to overwrite or keep the existing file
COPY TO save the file in an another location.
Complete System Restore / Bare Metal Recovery (BMR)
If the system is unavailable or out of service, it's useful to restore it to a previous, fully functionnal state.
For this part, we will start it with the recovery media we created earlier.
The Network icon in the lower right corner setups the network to access the IKIC storage and the backup image
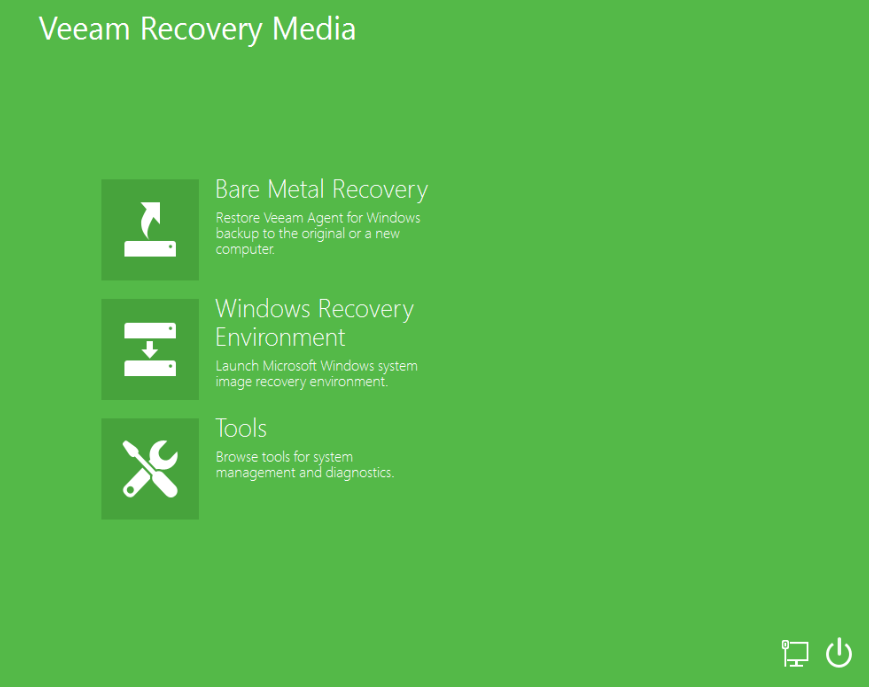
We choose Bare Metal Recovery
2 options there :
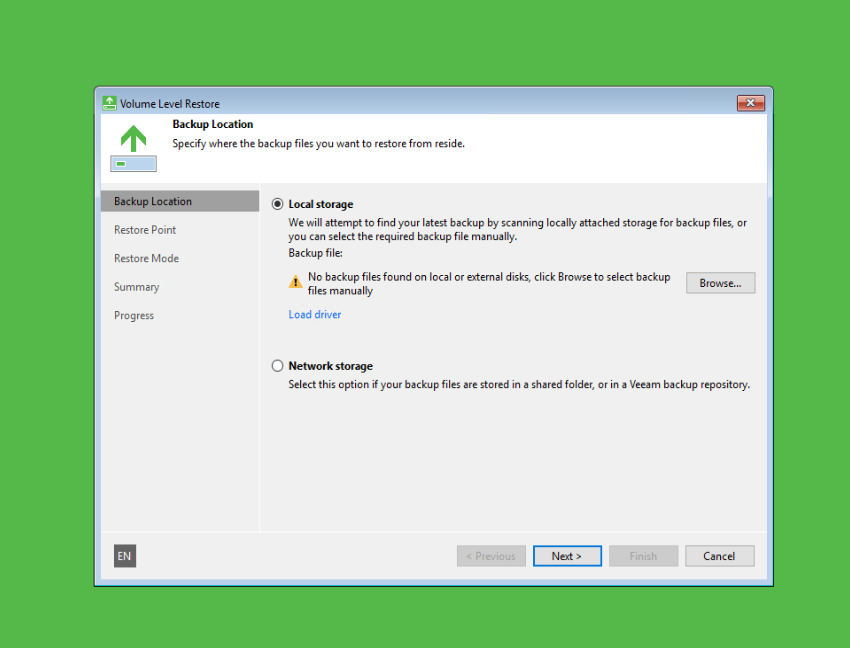
local storage (faster and more secure), where you first have to donwload the backup image in the IKIC storage and put it on a separate, local storage
network storage (slower, and can fail due to network failures), where we connect directly to the IKIC storage to deploy the restore point
with local storage you choose the backup image with BROWSE
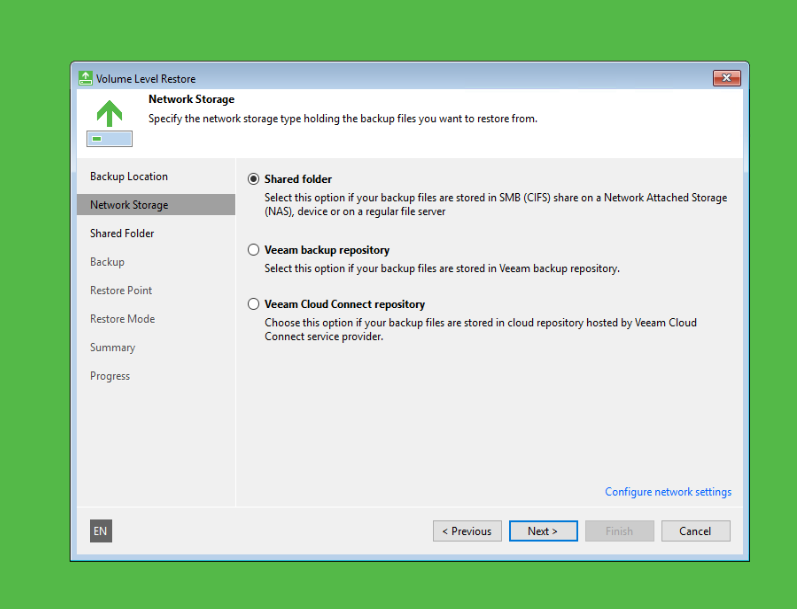
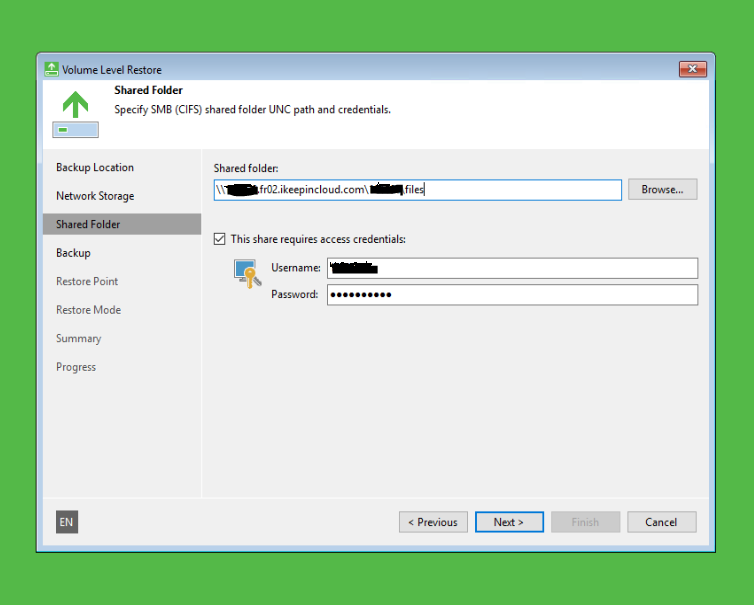
with network storage you have to specify the url and credentials of the IKIC storage
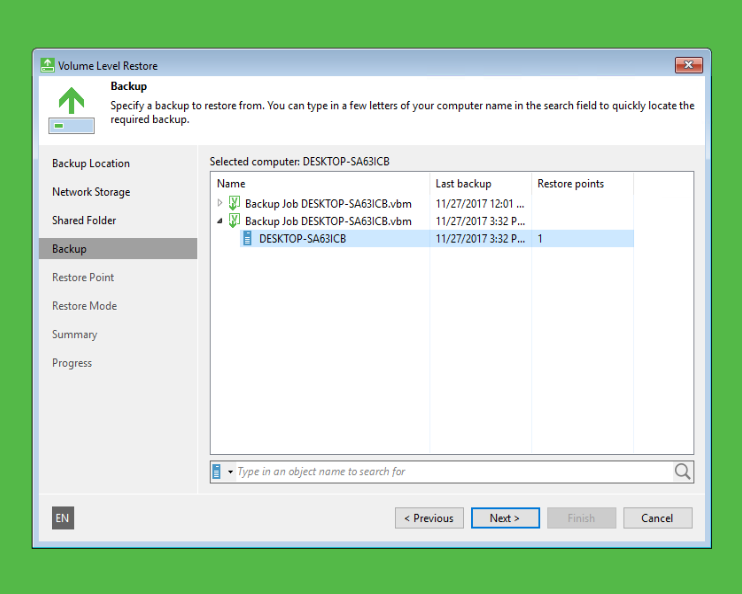
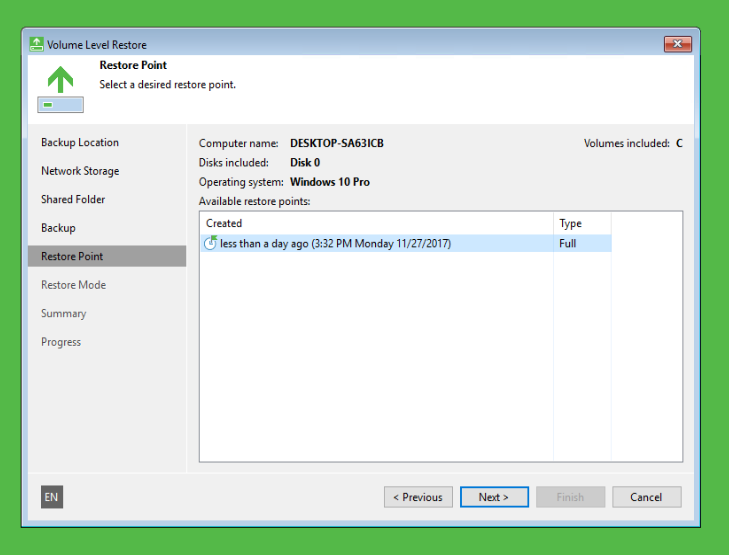
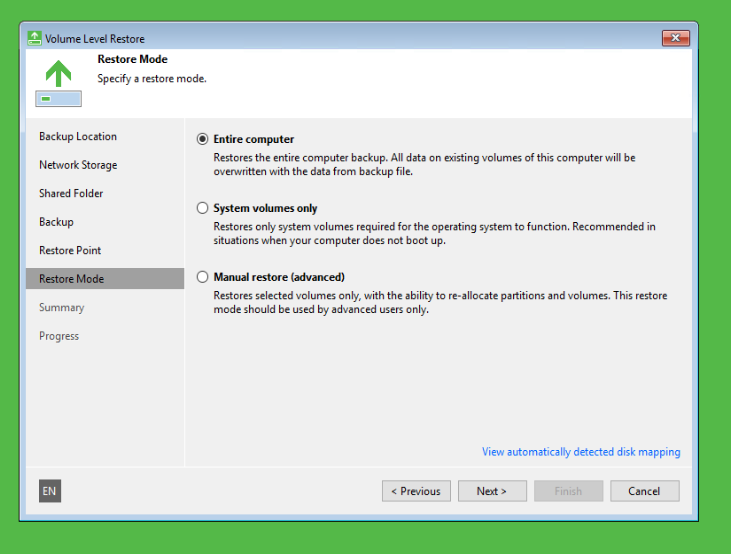
the BMR part follows these steps :
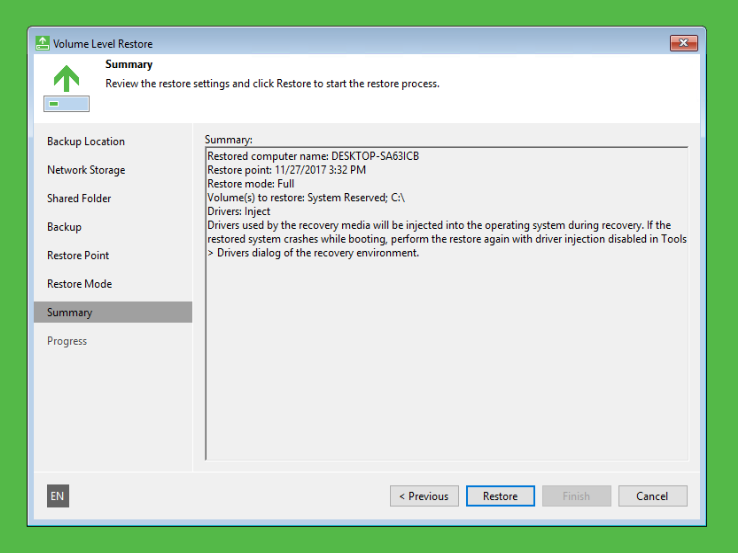
We check the final summary and start the restore process :
Conclusion
This is how you can backup your desktop PC on your IKIC storage using the free backup agent from VEEAM.
Cet article vous a semblé utile ?

Enable comment auto-refresher