Difference between revisions of "Configuring mail Hosted Exchange on Android"
| Line 1: | Line 1: | ||
| − | < | + | <br /> |
| + | This article has been created by an automatic translation software. You can view the article source [[:fr:Configuration mail Hosted Exchange sur Android|here]].<br /><span data-translate="fr"></span> | ||
| − | |||
'''Configuration of your mails <span class="notranslate">Hosted Exchange</span> on Android ''' | '''Configuration of your mails <span class="notranslate">Hosted Exchange</span> on Android ''' | ||
| Line 13: | Line 13: | ||
| − | 2. Enter your email address in the address | + | 2. Enter your email address in the address electrical box, your password in the password, your e-mail address in the domain box area, between z ex10in the server box .biz <span class="notranslate">Exchange</span> and let the check "use a secure SSL connection and press next |
[[File:EX10 ConfigAndro 0.jpeg|EX10_ConfigAndro_0.jpeg]] | [[File:EX10 ConfigAndro 0.jpeg|EX10_ConfigAndro_0.jpeg]] | ||
Revision as of 16:18, 23 September 2015
This article has been created by an automatic translation software. You can view the article source here.
Configuration of your mails Hosted Exchange on Android
We'll explain, step by step, how to configure a mailbox Exchange on your Android application :
1. Press Menu, then accounts & synchronization settings, and then click Add account
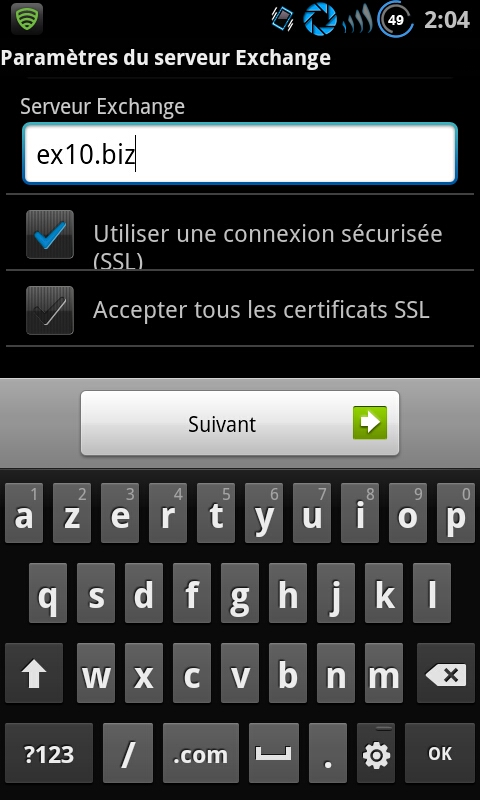
2. Enter your email address in the address electrical box, your password in the password, your e-mail address in the domain box area, between z ex10in the server box .biz Exchange and let the check "use a secure SSL connection and press next
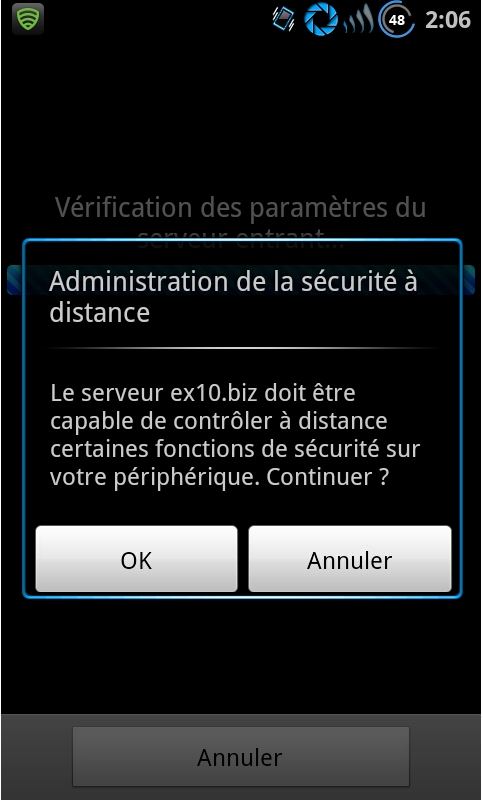
3. A window will open and ask you to confirm some security settings. Press OK
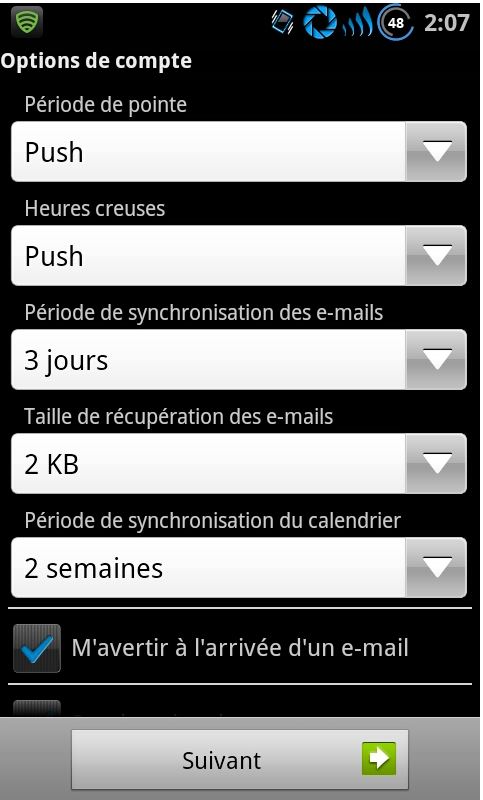
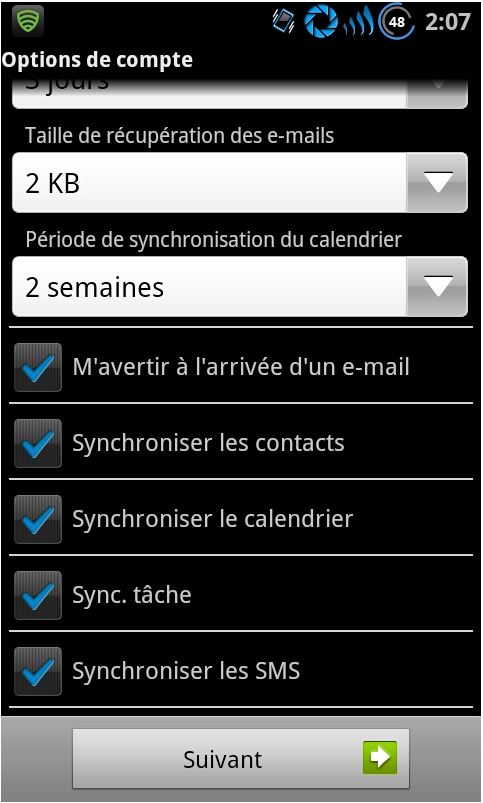
4. Accounts options will appear, you can leave this default or change the options at your convenience.
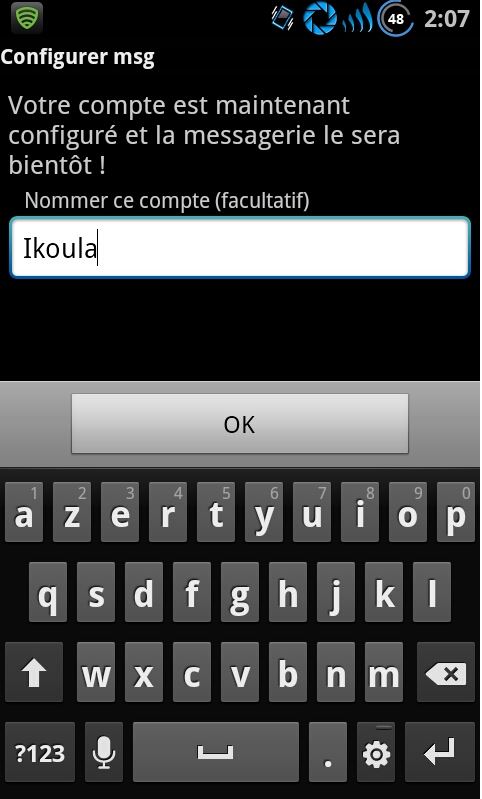
5. You will then need to set the name you want to give to his box
6. You can now enjoy your messaging Exchange on your Android smartphone

Enable comment auto-refresher