Difference between revisions of "Creation of an account in 4 steps"
| Line 1: | Line 1: | ||
| + | <span data-link_translate_fr_title="Création dâun compte utilisateur en 4 étapes" data-link_translate_fr_url="Cr%C3%A9ation_d%E2%80%99un_compte_utilisateur_en_4_%C3%A9tapes"></span>[[:fr:Création d’un compte utilisateur en 4 étapes]][[fr:Création d’un compte utilisateur en 4 étapes]] | ||
<br /> | <br /> | ||
Revision as of 09:06, 29 September 2015
fr:Création d’un compte utilisateur en 4 étapes
This article has been created by an automatic translation software. You can view the article source here.
1. Creating a hosting plan
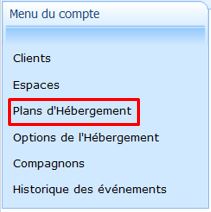
- Click on "Create a hosting plan"
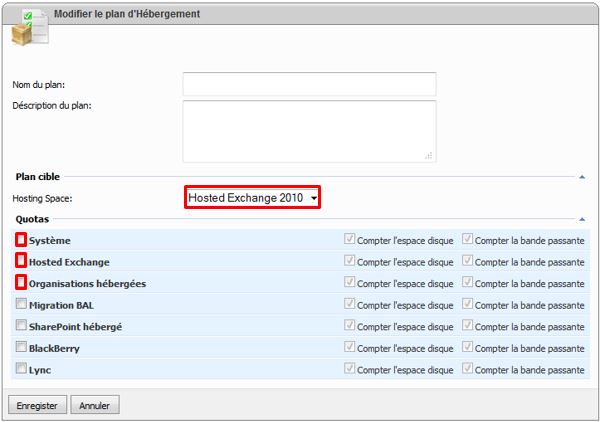
- In the portion Plan target, click on Hosted Exchange 2010.
Then select 'System', ' Hosted Exchange '. ","organizations"and your options to set up your hosting plan :
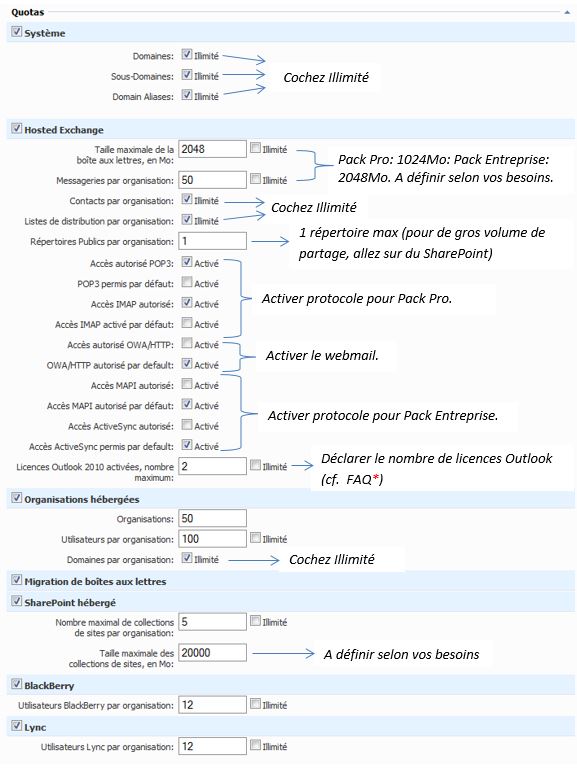
Details of the mandatory options :
Options Migration BAL, SharePoint hosted, BlackBerry, and Lync are set when needed.
2. Creating a client account
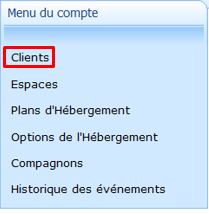
- Click on "Create customer"
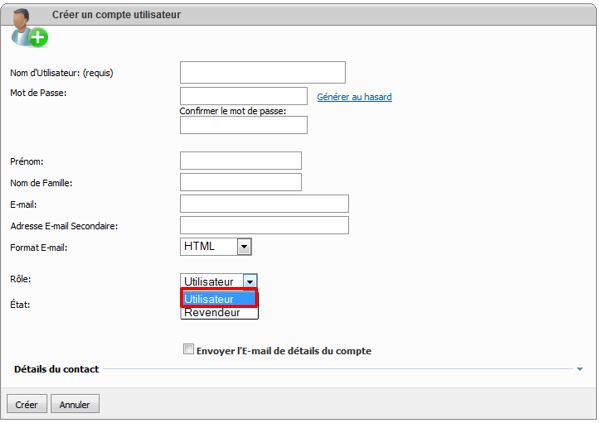
- Click on "Create a user" and fill all the fields in the page :
3. Creation of a hosting space
- Create and populate the field then click on the space selected.
4. Creation of an organization
- Click then left on 'Hosted organizations'
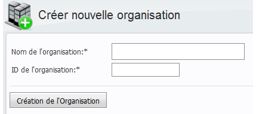
- Click on "Create a new organization" and fill in the field "Name" with the ID of your choice :
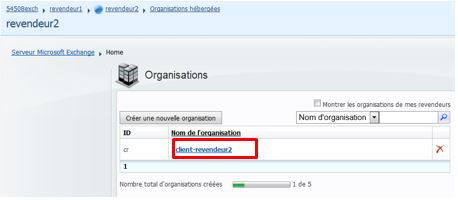
- Then on the organization chooses
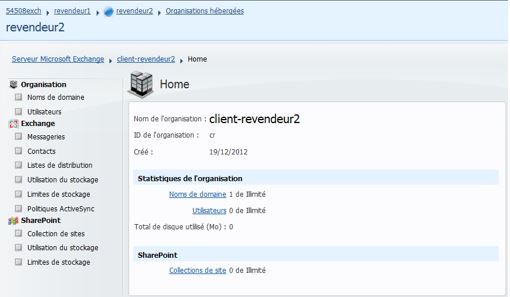
To finally reach the tree that allows you to manage the organization features :
Now you can create your mail by configuring the options selected in your hosting plan (1era step ).
A few FAQ to be used to finalize the vote account configuration e EX10.
• How to add a new domain mail to ex10.biz?
• How to create a mailbox under ex10.biz?
• Creation of a SharePoint Foundation 2010 site collection
• Set up a account Lync IM + Presence
Questions ?
If you have any other questions, see our FAQ on our website ww w.ex10.biz or our videos on our YouTube channel.
For all other information, please contact dperquin@ikoula.com.




Enable comment auto-refresher