Difference between revisions of "Automate with MSI files"
| Line 1: | Line 1: | ||
| + | |||
{{#seo: | {{#seo: | ||
|title=Automate with MSI files | |title=Automate with MSI files | ||
| Line 7: | Line 8: | ||
|image_alt=Wiki Logo | |image_alt=Wiki Logo | ||
}} | }} | ||
| + | |||
==Introduction== <!--T:1--> | ==Introduction== <!--T:1--> | ||
It is possible to automate the installation as well as the registration of a machine by creating MSI / MST files. | It is possible to automate the installation as well as the registration of a machine by creating MSI / MST files. | ||
Latest revision as of 13:50, 1 October 2021
Introduction
It is possible to automate the installation as well as the registration of a machine by creating MSI / MST files.
steps
At first, it is advisable to have realized the First connection
On the interface https://acronis.ikoula.com, once connected, at the top right, click on "add" then go to the offline installer. Choose your version (32/64 bits)
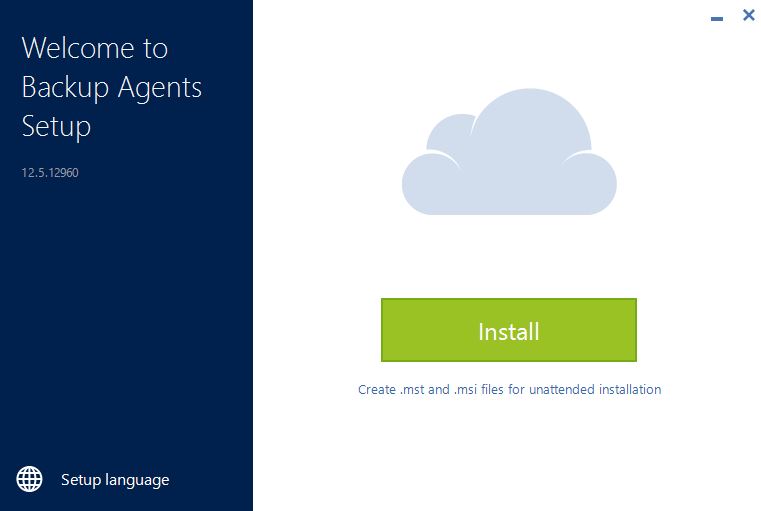
Download the file and launch it. Two choices are available to you:
There you have to click on "Create .mst and .msi files for an unattended installation".
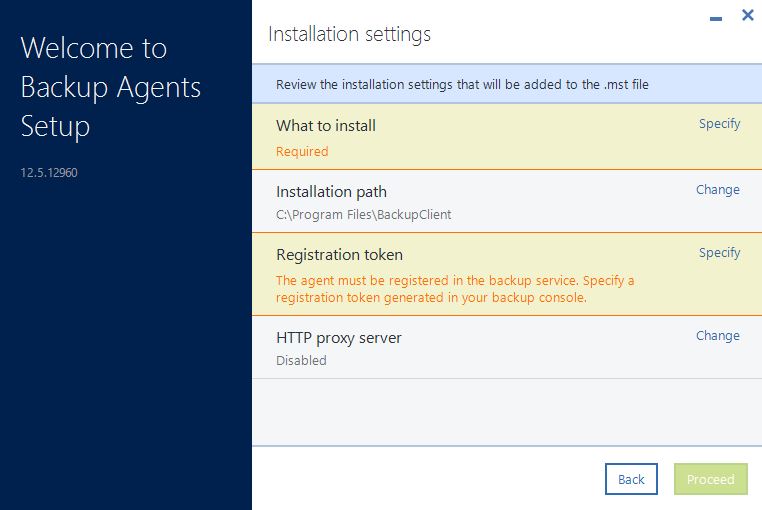
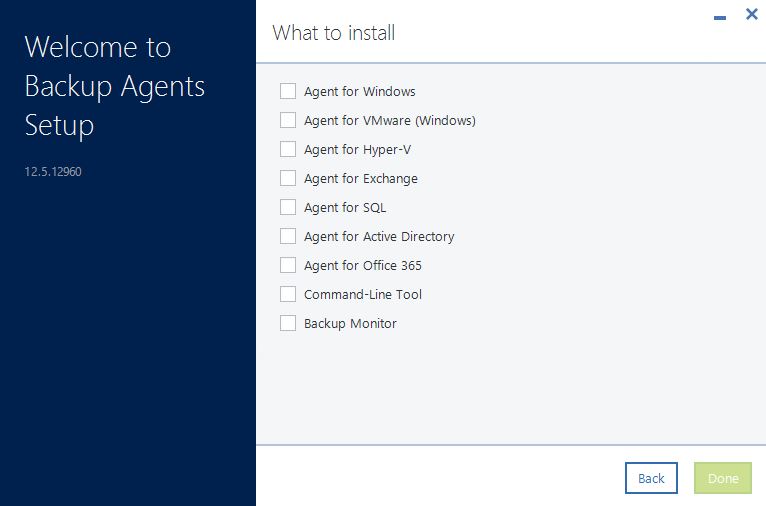
In front of "items to install" click on "Specify"
Here you can choose what you want to install, in our case we only choose the agent for windows, so there will only be services. No icon in the taskbar or interaction option for the user once installed.
You can choose another installation path, as well as a proxy server if needed.
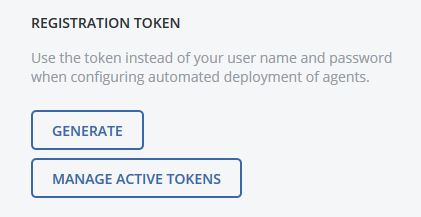
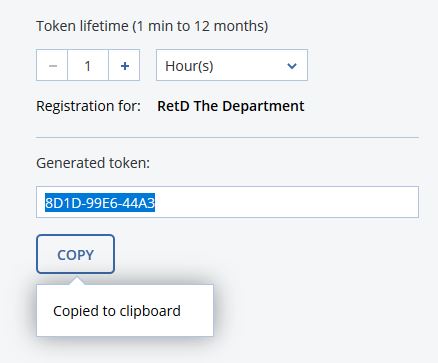
The registration token is obtained on the interface https://acronis.ikoula.com, when you click on add, at the bottom you have the possibility to generate one:
By clicking on generate, you will have the possibility to choose its duration of validity, for our test we entered an hour.
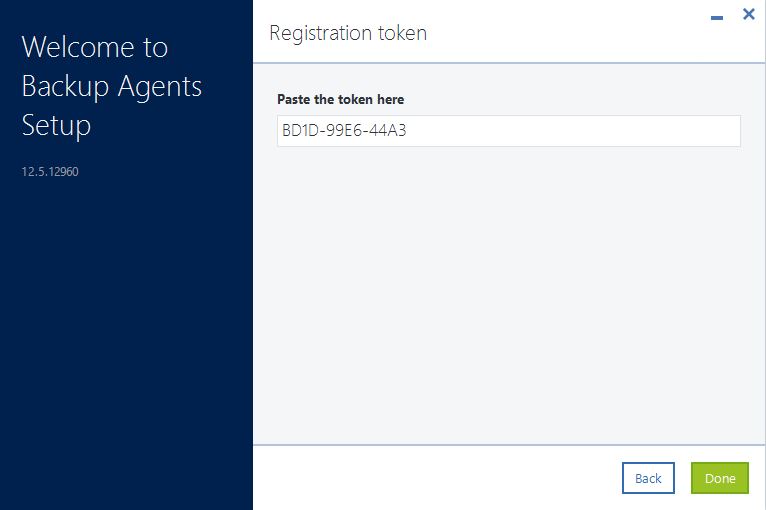
At the moment you are viewing this article our token is no longer valid and the MSI created unusable. You enter the token in the installer:
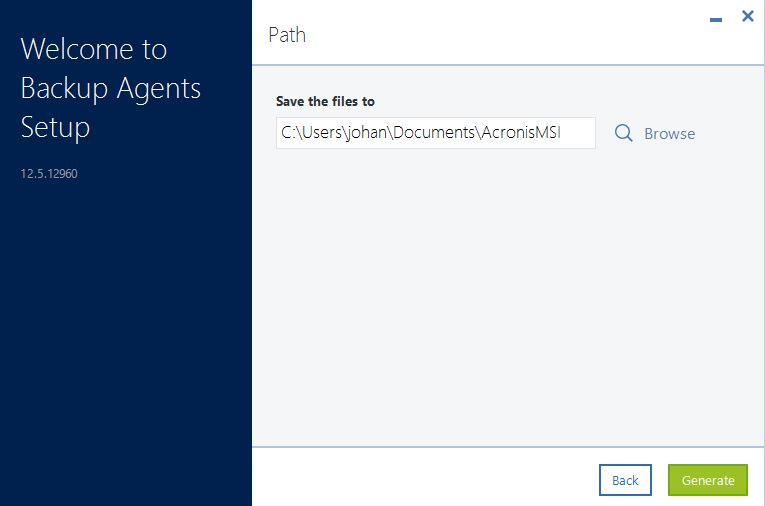
You will then have to choose the place where the files will be stored for the installation, choose an empty folder, because you will have approximatly 15 elements
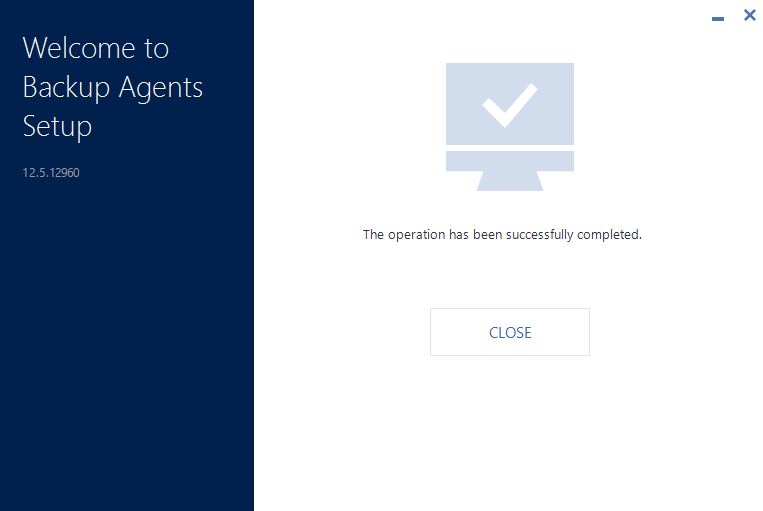
once completed, you can click "close"
Conclusion
You now have the files to deploy Acronis in an automated way (via GPO for example).

Enable comment auto-refresher